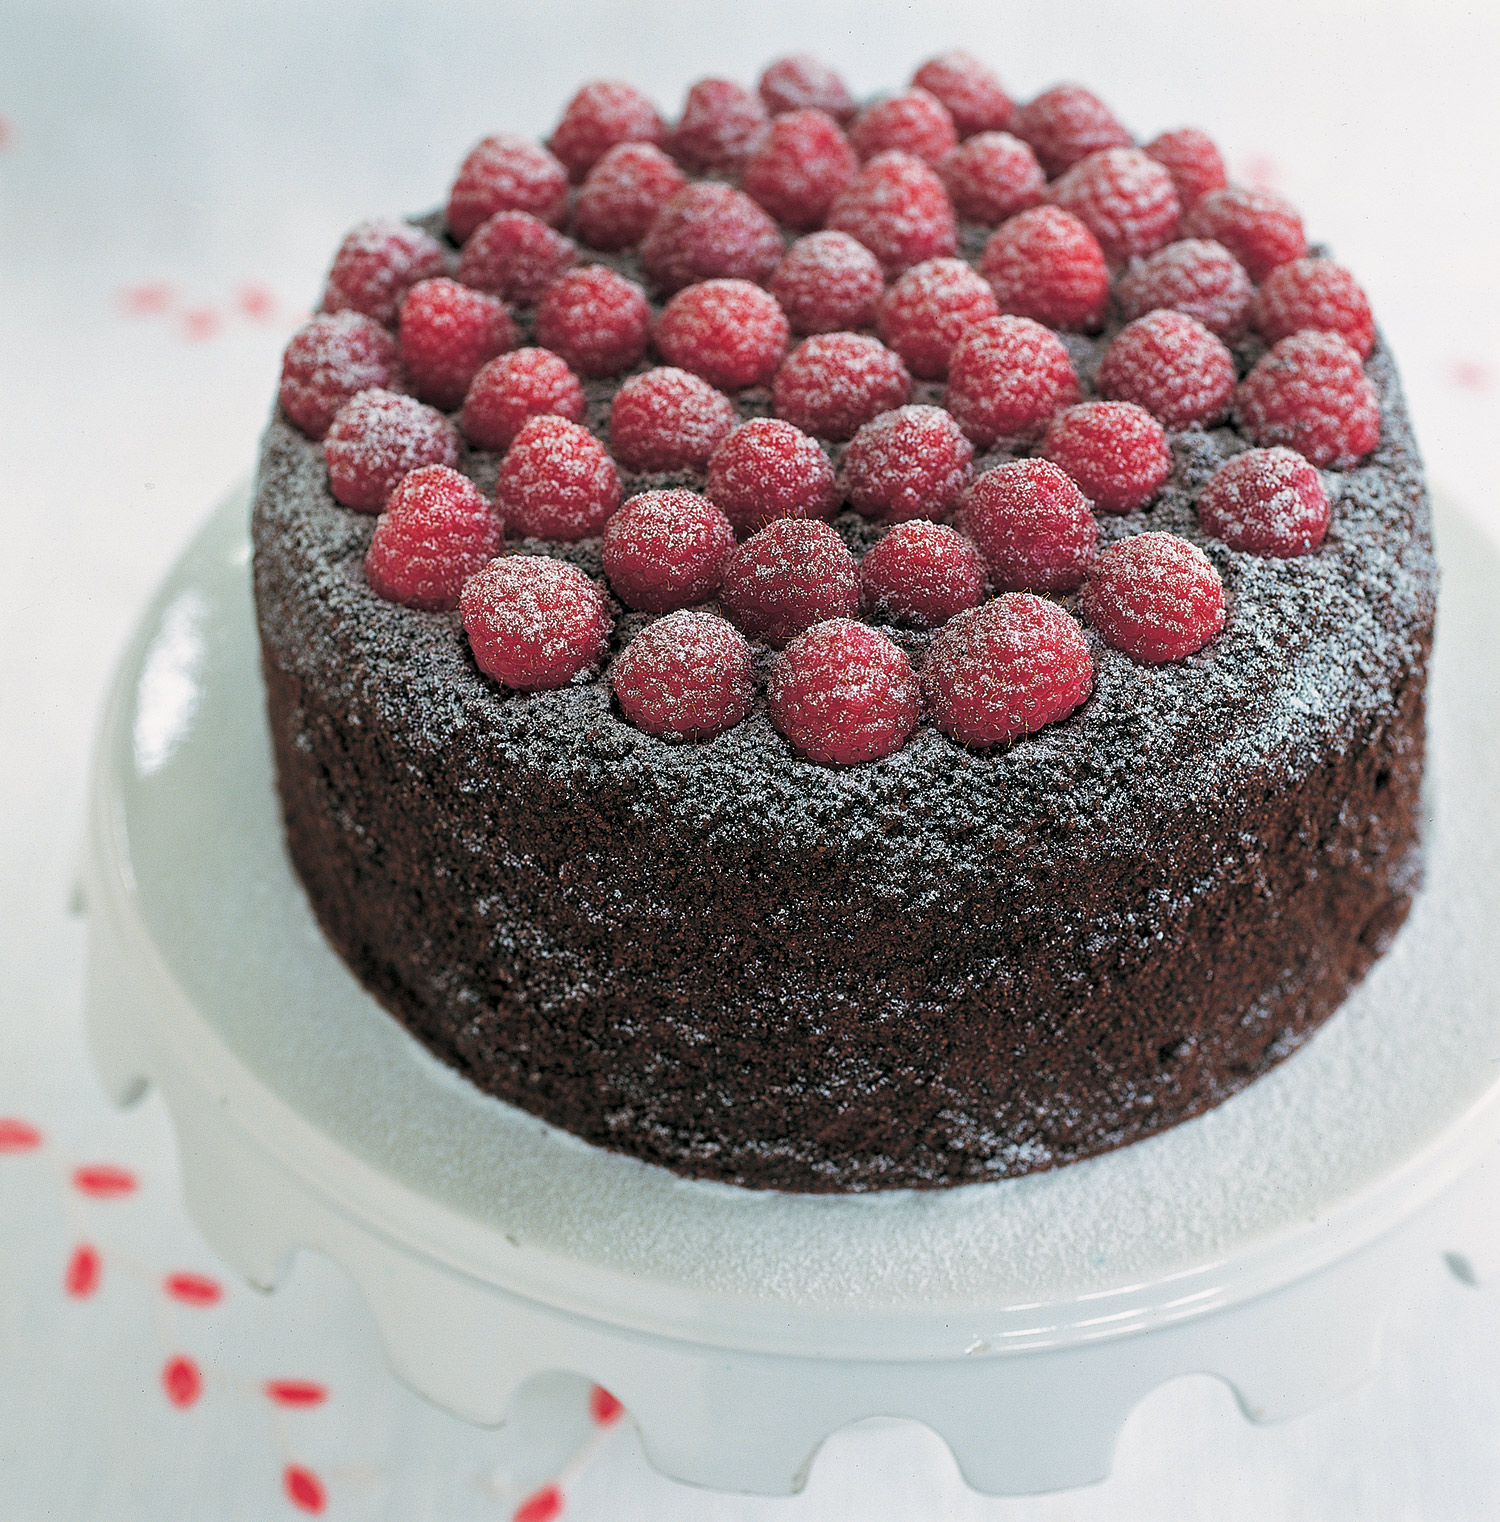
Once again, my Buttermilk Pancake Mix proves to be the hero. Whether the cocoa-laced batter is baked into two dark cake layers or lots of tender cupcakes, you won’t be disappointed. If you ever run out of batter when making cupcakes, just fill the empty cups half- full with very hot tap water and they’ll bake just fine.
Whisk 2 1/2 cups of cake flour with 2 scant teaspoons baking soda, 1/2 teaspoon salt, 2 1/2 teaspoons baking powder, and 1/2 cup nonalkalized cocoa powder. Sift this into another bowl. Increase the sugar to 1 2/3 cups.
Any time I’ve suggested a tool, a piece of equipment, or a culinary term that’s unfamiliar to you, you can go to Learn to Cook for more information.
Brush two 9-inch cake pans (1 1/2-inches deep) generously with melted butter and line them with a round of parchment. Grease the paper, then dust the pan with flour, tilting to coat the interior evenly. Shake out the excess flour by rapping the pan, hard, on the side of the sink.
Spray the tops of two 12-cup muffin tins (or one 12-cup and one 6-cup tin) with vegetable spray and line the cups with paper liners. (The number of tins needed will depend on whether or not you’re using the optional chocolate chips. Also, if you’re not using the prepared pancake mix and instead, you're using the dry mixture offered at the end of this recipe, you'll yield 24 cupcakes.) If you’re using one oven and making cupcakes, position the racks to the upper and lower shelves. If making two cake layers, try to fit them on the center shelf together. If working with a double oven, it's also best to bake the cupcake tins separately, in the center of the oven. Either way, preheat the temperature to 350F.
Whisk the pancake mix with the baking soda and sifted cocoa, or assemble the dry mixture at the end of this recipe. Using an electric mixer, beat the softened butter and shortening with the sugar, eggs, and vanilla (all at once), until light. Stop the machine and, using a sturdy rubber spatula, scrape up the butter mixture from the bottom of the bowl and beat again, briefly. Turn off the machine and, all at once, add the dry mixture and 1 1/2 cups buttermilk for cake layers (or 1 1/4 cups for cupcakes), and beat on low for 1 full minute, to incorporate well. Stop the machine and scrape down the sides of the bowl, then beat on a moderately high speed (setting #6 on a KitchenAid) for 2 1/2 to 3 minutes, until very light and fluffy.
Fold in the mini chocolate chips and use a medium-sized ice cream scoop or a large spoon to ration the batter between the cupcake tins, filling each cup only 3/4 full, (if you have a few unused cups, fill those half full with very hot water). Bake cupcakes for 20 to 22 minutes, or until a tester comes out "just clean," without allowing them to become dry. If baking both cupcake tins in the same oven, switch their positions half-way through baking. Remove the tins from the oven and let them sit on a rack, for 5 minutes. One by one, carefully lift each cupcake out and let them stand on a rack, to cool before applying a glaze or frosting to the tops.
Divide the batter between your prepared cake pans and, using a small metal spreader, smooth the top. Bake the layers in the center of the preheated oven for 30 to 35 minutes (cakes will begin to pull away from the sides of the pan and feel springy at the top center. Don’t worry if the tops look a bit irregular, since they will be inverted and used flat- bottoms up.) Place two wire cooling racks, preferably nonstick and without a center pleat, on the counter. Place the cake layers, in their pans, on 2 additional wire racks (any kind) and let them sit for 5 minutes, before inverting them, bottoms up, onto the nonstick racks. Cool cake layers, completely, this way.
Always having the pancake / cupcake mix on hand is a real time saver.
The cake layers and cupcakes can be made one day ahead of applying frosting and kept at room temperature, well covered with plastic wrap. Place the cooled cake layers on two separate cake discs (keeping them bottoms-up) before covering them.