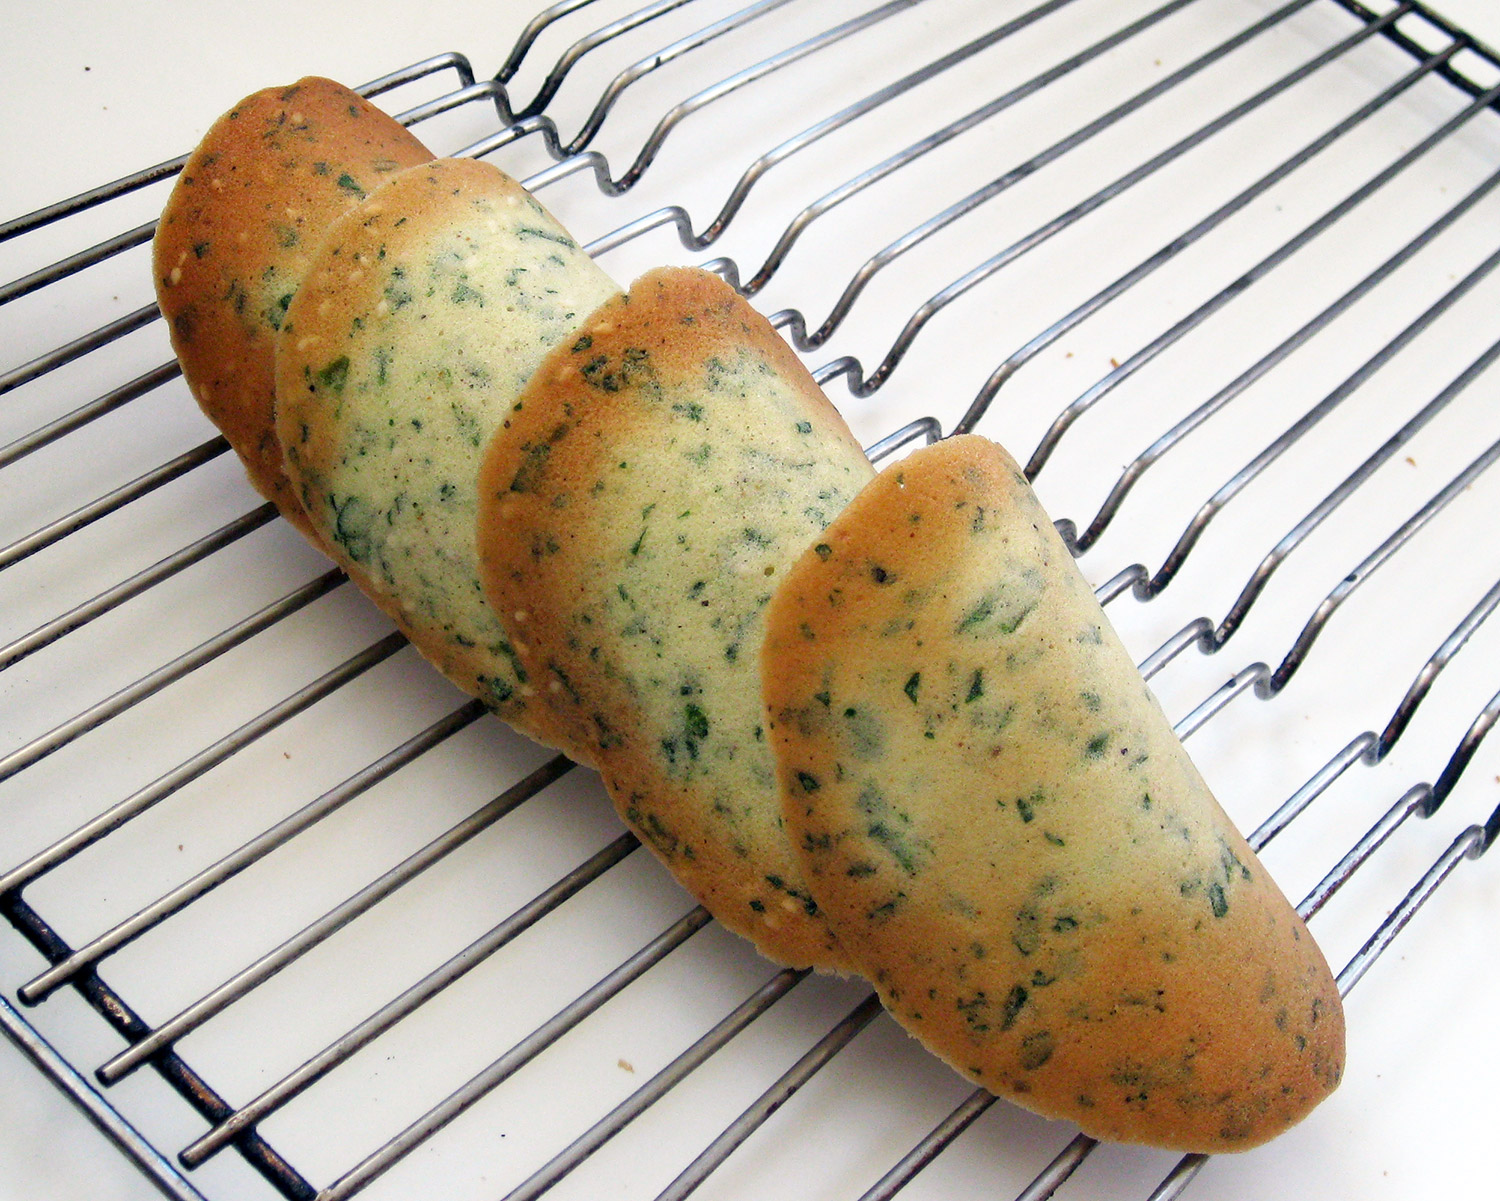
For years I frequented the renowned restaurant Jean Louis in Greenwich, Connecticut. And, for years I would dream about chef Jean Louis Gerin’s garlic tuiles (pronounced “tweels” which mean “tile” in French), presented one-to-a-customer, after being seated at the table. These paper thin, somewhat shiny wafers studded with green flecks, had a robust garlic flavor with a discernible sweetness that was perfect. Simply, they were incredible. The recipe of course was a secret and Jean Louis wouldn’t budge. About three years after my first taste, I attempted to recreate this jewel. And happily for me, I did it in the first go-around! Two crucial things to know before making tuiles is to not make too many at once. Three on one baking sheet is all (start with only two if a novice). These wafers crisp up almost immediately upon being removed from the oven so don’t delay. Also, I don’t suggest making tuiles in very humid weather since this tends to make them loose crispness. You can watch me making these fabulous tuiles as well as my “Celebration Cigar Cookies” and also Parmesan Crisp (discs and life-size bowls on TV, on “Baking Made Easy with Lauren.”
Any time I’ve suggested a tool, a piece of equipment, or a culinary term that’s unfamiliar to you, you can go to Learn to Cook for more information.
In a small saucepan, melt 5 tablespoons butter over medium heat. When bubbling, stir in minced garlic, allow to sizzle for a few seconds, and remove from heat. Set aside so garlic can steep for at least 30 minutes. Position a small sieve over a bowl and pour the garlic butter into sieve. Use the flat edge of a wooden spatula to force as much of the garlic pulp through sieve into bowl and discard anything remaining in sieve (if the butter has cooled to the point of solidifying, rewarm gently, just to liquefy and let cool to just warm. Add minced chives, parsley, freshly ground black pepper to taste and cayenne, if using.
Position oven rack to center shelf and preheat to 350F. Generously grease several cushioned cookie sheets with melted butter and set aside. Set up several wire cooling racks on your counter. Take out a rolling pin or an empty wine bottle and place next to your work surface.
Whisk together flour and 1/3 teaspoon salt. Whisk egg whites in a bowl until frothy. Sift in powdered sugar and whisk till smooth. Sift in flour, then pour in the garlic-chive butter and whisk till smooth.
Place 1 to 2 teaspoons batter onto the prepared sheet. Using the back of the spoon in a circular motion, thin batter into a circle of even thickness. Do this up to 4 times more, leaving plenty of space in between. The batter will spread in the oven so don’t place batter rounds too close together. Place in the oven and bake until edges are golden and centers are still light, 5 to 9 minutes.
Remove sheet from oven and place on a heat proof work surface. Count to 5, then run a long, thin metal spatula under the wafer and immediately lay it over the rolling pin (or a wine bottle, etc…). Use your hand to help it drape down and secure over the pin. By this time, the wafer will have already crisped so remove it and place on a wire rack to cool. Wipe off any crisp particles of wafer that might be clinging to the edge of the spatula and repeat procedure with remaining rounds. If they become stuck or too hard to remove, place back in oven for a few seconds to soften.
In proper weather, these tuiles stay crisp and delicious for several days, covered, at room temperature.